
Best pani puri recipe golgappa easy is mostly about getting three things right: crisp puris, balanced spicy-tangy pani, and a filling that doesn’t turn everything soggy.
If you’ve tried making pani puri at home in the U.S. and felt like it tasted “close but not quite,” you’re not alone, the ingredients are similar, but the balance and timing are where most people get stuck. The good news is you don’t need special equipment, you just need a clear workflow.
This guide walks you through an easy, street-style approach with options for heat level, make-ahead prep, and a few shortcuts that still taste legit. I’ll also flag common missteps, because “watery pani” or “soft puris” usually comes down to one or two fixable details.
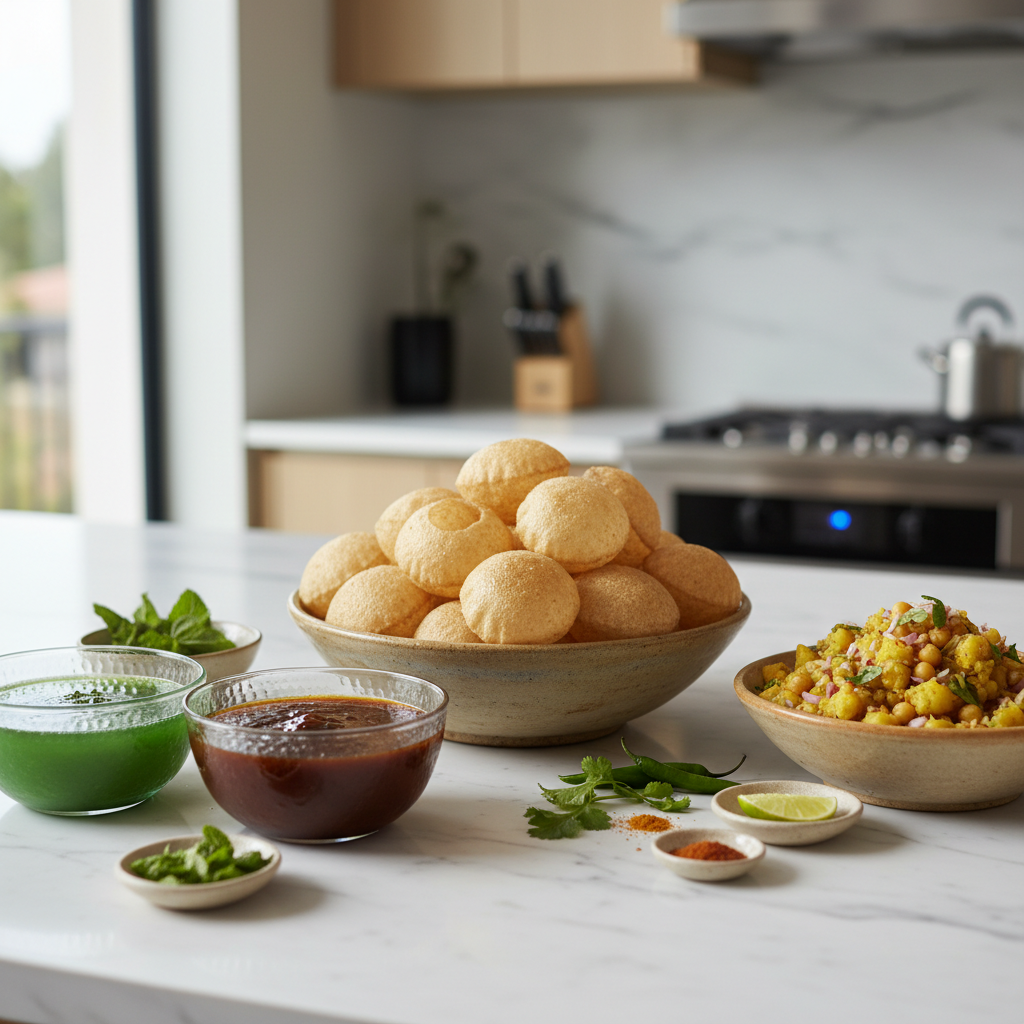
What makes a “best” pani puri at home (and why it often disappoints)
At home, people usually over-focus on the filling, but the real make-or-break is the pani. Street vendors build intensity with herbs, souring agents, salt, and a little sweetness, then keep it cold so it tastes sharp, not flat.
- Temperature: cold pani tastes brighter, warm pani tastes muted.
- Balance: sour, salty, spicy, and slightly sweet should all show up.
- Texture timing: you fill and eat immediately, puris hate waiting.
- Water quality: filtered water can help the herbs taste cleaner.
One safety note: if you’re serving a group, keep the pani chilled and don’t let it sit out for long, food safety guidance varies by setting, so when in doubt, keep it cold and refresh ice as needed. According to USDA Food Safety and Inspection Service (FSIS), perishable foods should not sit at room temperature for more than about two hours, and less in hot conditions.
Ingredients (easy to find in the U.S.)
You can make everything from scratch, but a realistic “easy” version uses store-bought puris and focuses your effort on the pani and smart prep.
For the puris (golgappa shells)
- Store-bought pani puri shells (Indian grocery, sometimes online)
- Optional: a small bowl of warm oven air time to re-crisp (details below)
For the potato-chickpea filling
- 2 medium Yukon gold or russet potatoes, boiled and diced
- 1 cup cooked chickpeas (canned is fine), drained
- 1/2 tsp roasted cumin powder
- 1/2–1 tsp chaat masala (to taste)
- Salt
- Optional: finely chopped red onion, cilantro
For the green spicy pani (mint-cilantro water)
- 1 packed cup cilantro
- 1/2 packed cup mint
- 1–2 green chiles (serrano works well), adjust heat
- 1 inch ginger (optional, helps “zing”)
- 1 tsp roasted cumin powder
- 1–2 tbsp tamarind concentrate or 2–3 tbsp lemon/lime juice (different vibe, still good)
- 1–2 tsp chaat masala (start low, add later)
- 1–2 tsp black salt (kala namak) if you have it, or regular salt
- 3–4 cups cold water, plus more to adjust
- Optional: a pinch of jaggery or sugar
Optional add-ons (worth it if you like layers)
- Tamarind-date chutney
- Green chutney
- Boondi (crispy chickpea puffs)
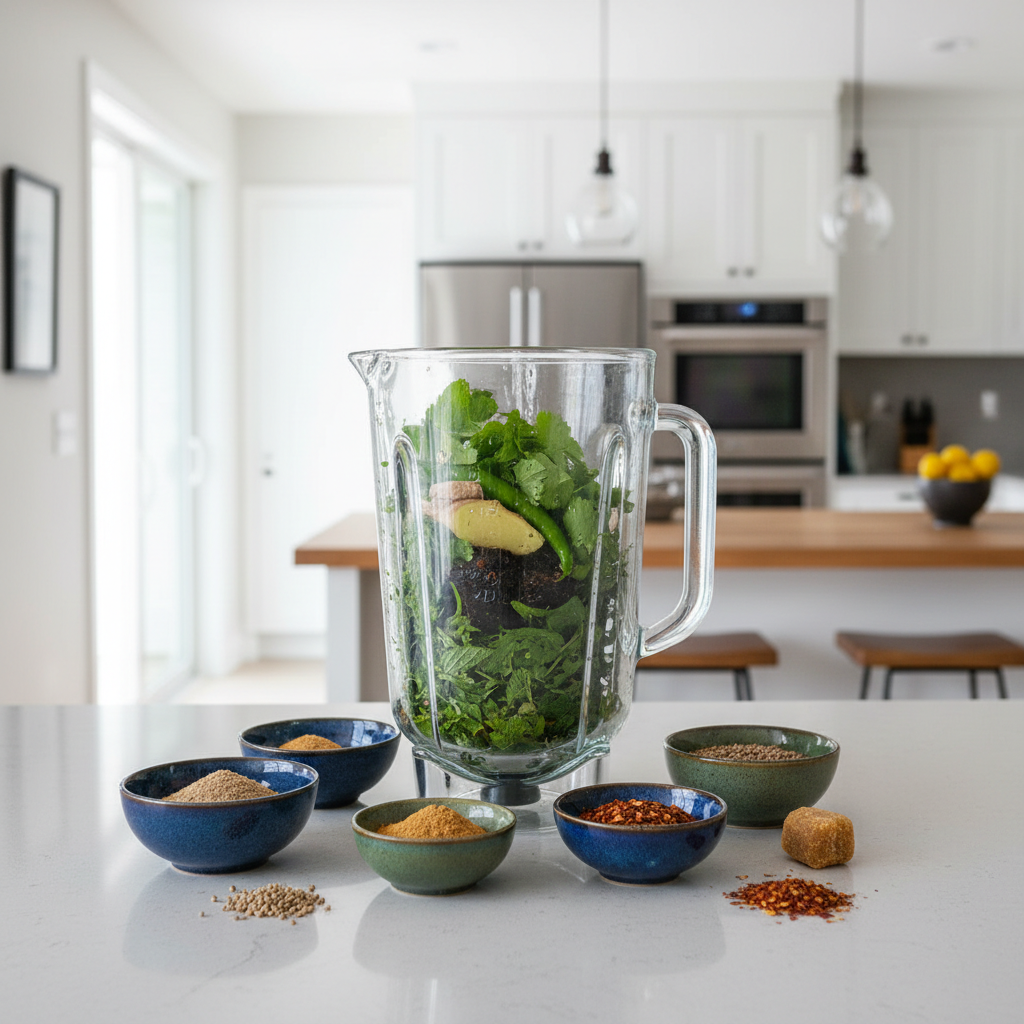
Quick table: flavors, swaps, and what they change
If you’re cooking in the U.S., you might not have every Indian pantry item on day one. This table helps you swap without guessing.
| Ingredient | What it does | Easy swap | Flavor impact |
|---|---|---|---|
| Black salt (kala namak) | Eggy, sulfur note, classic chaat taste | Sea salt + tiny pinch of smoked salt | Less “chaat-y,” still tasty |
| Tamarind concentrate | Sour depth with fruity tang | Lemon/lime juice | Brighter, less rounded |
| Chaat masala | Signature street-style seasoning | Extra roasted cumin + black pepper + pinch of amchur if available | Close, not identical |
| Boondi | Extra crunch inside | Crushed tortilla chips (in a pinch) | Not traditional, still fun texture |
Step-by-step: best easy golgappa pani puri workflow
This is the sequence that keeps things crisp and reduces last-minute chaos, especially if you’re feeding friends.
1) Make the filling (10–15 minutes)
Mix potatoes and chickpeas, add roasted cumin, chaat masala, and salt. Keep it dry-ish, if it looks wet, it will soften the shells faster.
- Dice potatoes after cooling slightly, steaming-hot potato turns mushy.
- Add onion and cilantro right before serving if you want sharper flavor.
2) Blend and chill the green pani (10 minutes + chill time)
Blend cilantro, mint, chiles, ginger, cumin, tamarind or citrus, chaat masala, and salts with about 1 cup water until smooth.
Strain if you want a cleaner pani, or keep it unstrained for a punchier herb bite. Then dilute with cold water to taste, aim for “bold,” because ice and puris soften intensity.
- If it tastes flat, add salt first, then sour, then spice.
- If it tastes harsh, add a small pinch of sugar or jaggery.
- Chill at least 30–60 minutes, longer is better.
3) Re-crisp store-bought puris (optional, but helpful)
Many packaged shells are already crisp, but if yours feel slightly soft, warm them in a 250°F oven for 3–5 minutes, then cool completely. Warm puris trap steam and go soft, so the cooling step matters.
4) Assemble and eat immediately
Make a small hole on top of each puri, add a spoon of filling, optional chutney, then dunk or pour in the chilled pani. Eat right away, this snack does not wait politely.
Self-check: why your pani puri doesn’t taste right (fast diagnosis)
- Pani tastes bland: usually not enough salt or sour, or it’s not cold yet.
- Pani tastes bitter/“green”: too much mint stem, over-blended warm herbs, or too much raw ginger.
- Pani tastes spicy but one-note: add sour and a hint of sweetness, also check roasted cumin level.
- Puris get soggy fast: filling too wet, puris not crisp, or people pre-fill and wait.
- Everything tastes salty: dilute with water, then rebuild sour and cumin slowly.
If you’re chasing that street-style snap, keep repeating this rule: taste the pani cold, adjust cold, serve cold.
Make-ahead plan (so hosting feels easy)
This is the part that turns “cooking project” into “fun snack bar.”
- Up to 1 day ahead: boil potatoes, cook/portion chickpeas, make pani base (blended paste), keep refrigerated.
- Same day: dilute and adjust the pani, chill; mix filling; set up toppings.
- Right before serving: re-crisp shells if needed, add ice to pani, assemble buffet-style.

Practical tips Americans ask about (spice level, water, and “authentic” taste)
How spicy should it be?
Serranos vary a lot. Start with one chile, blend, chill, then decide. If you overshoot, dilution helps, but you may need to add back salt, cumin, and sourness afterward.
Can I use bottled lemon juice?
You can, but fresh citrus usually tastes cleaner. If bottled is what you have, use a little less and rely more on tamarind for depth.
Do I have to use black salt and chaat masala?
Not strictly, but these two ingredients do a lot of heavy lifting for that classic chaat flavor. If you want the “I bought this from a chaat place” vibe, they’re usually worth picking up once.
Is it healthy?
It depends on portion size and ingredients, pani puri is a snack and it’s easy to overdo. If you manage sodium or have dietary needs, consider reducing chaat masala and salt, and it may be smart to check with a nutrition professional.
Key takeaways (save this before you start)
- Chill the pani before final adjustments, cold changes everything.
- Keep filling on the drier side, moisture is the enemy of crunch.
- Balance beats heat, sour + salt + cumin create the real punch.
- Serve DIY style so no one eats a soggy puri.
- Use smart shortcuts, store-bought shells plus great pani still feels special.
Conclusion: a home version that actually feels like golgappa
The best results come from treating pani puri like a “cold, fast-serve snack,” not a plated dish. Get the pani bright and chilled, keep the filling dry, and let everyone assemble at the last second, that’s when the texture and flavor hit the way you expect.
If you want a simple next step, make the pani base today and taste it again after it chills, most people are surprised how quickly it turns from decent to craveable with a few small tweaks.