
An apple pie recipe easy enough for weeknights still needs two things to feel “from scratch”: a flaky crust that behaves, and a filling that tastes like apples instead of just sugar and cinnamon. This guide keeps it simple without cutting the corners that usually cause a runny pie or tough pastry.
If you’ve ever pulled out a beautiful pie that slices into apple soup, or you’ve fought sticky dough that tears the second you roll it, you’re not alone. Most “easy” recipes skip the small technique choices that actually make home pie predictable.
Below you’ll get a clear ingredient list, a realistic timeline, and a few “if this happens, do that” fixes. You can make it with standard supermarket ingredients, no specialty tools required beyond a pie dish and a rolling pin.
What makes an easy apple pie actually work
Easy isn’t the same as rushed. In pie, small choices do most of the heavy lifting, especially when you want a crisp bottom and clean slices.
- Cold fat + minimal mixing keeps the crust tender and flaky, overworking dough tends to bake up tough.
- Right apple mix gives flavor and structure, some apples collapse into mush, others stay too firm.
- Thickener matched to your apples prevents runny filling, but too much thickener turns it gummy.
- Oven heat management sets the crust early, then finishes the filling without burning edges.
According to the USDA, flour and raw ingredients should be stored and handled to reduce food safety risk, which in home baking mostly means clean hands, clean surfaces, and not leaving dairy ingredients out too long while you work.
Ingredients and smart substitutions
This apple pie recipe easy version uses a classic double crust, because it’s forgiving and protects the filling while it bakes. If you prefer lattice, you can still use the same dough.
Crust (double crust, 9-inch pie)
- 2 1/2 cups all-purpose flour
- 1 tsp salt
- 1 tbsp sugar
- 1 cup (2 sticks) unsalted butter, very cold, cut into cubes
- 6–10 tbsp ice water
Filling
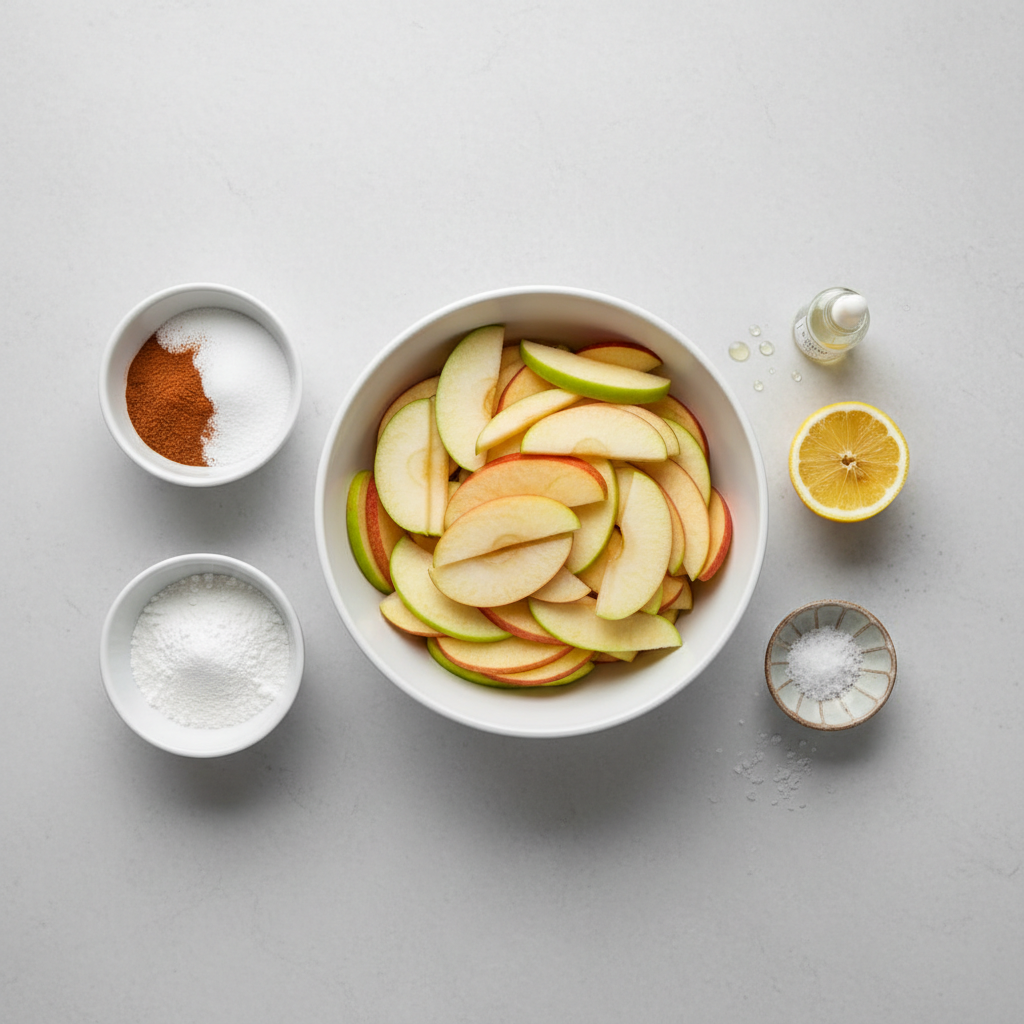
- 6–7 cups apples, peeled, cored, sliced (about 6–7 medium)
- 2/3 cup sugar (adjust to taste)
- 2 tbsp brown sugar
- 1 1/2 tsp cinnamon
- 1/4 tsp nutmeg (optional)
- 1 tbsp lemon juice
- 3 tbsp cornstarch (or 1/4 cup all-purpose flour)
- 1/4 tsp salt
- 1 tbsp butter (to dot on top of filling)
Finish
- 1 egg + 1 tbsp water (egg wash)
- 1 tbsp coarse sugar (optional)
Apple choices (real-life guidance)
If you want the simplest result, use one sturdy baking apple. If you want a more “bakery” flavor, mix two types.
- Reliable: Granny Smith (tart, holds shape), Honeycrisp (sweet-tart, pricier, great texture)
- Good mixers: Pink Lady, Braeburn, Jonagold
- Usually avoid alone: Red Delicious (often mealy), McIntosh (can break down fast)
Quick planning table: time, tools, and temperature
Pie feels hard when it’s unplanned. Here’s the practical overview so you’re not guessing mid-bake.
| Step | How long | What to watch |
|---|---|---|
| Make dough | 10–15 min | Butter pieces still visible, dough holds when squeezed |
| Chill dough | 45–60 min (or overnight) | Cold dough rolls cleaner, shrinks less |
| Mix filling | 10 min | Apples coated evenly, no dry cornstarch pockets |
| Assemble | 15–20 min | Vent top, seal edges, don’t stretch dough |
| Bake | 50–70 min | Filling bubbling, crust deep golden |
| Cool before slicing | 2–3 hours | Filling sets, slices hold shape |
Key point: if you slice hot pie, even a well-thickened filling can look runny. Cooling is part of the recipe, not a bonus step.
Step-by-step: easy from-scratch crust (no drama)
Most crust problems come from warmth and overmixing. Keep the butter cold, stop mixing as soon as the dough behaves, and you’re already ahead.
1) Make the dough
- In a large bowl, whisk flour, salt, sugar.
- Cut in cold butter with a pastry cutter or your fingertips until you see pea-size pieces plus some flatter flakes.
- Drizzle in ice water, 1–2 tbsp at a time, tossing with a fork until the dough starts clumping.
- Press a handful: if it holds together, stop adding water.
2) Chill
- Divide into two discs, wrap tightly.
- Refrigerate at least 45 minutes (overnight works well).
3) Roll and line the pan
- Roll one disc on a lightly floured surface into a 12-inch circle.
- Transfer to a 9-inch pie dish, gently tuck in without stretching.
- Refrigerate the lined dish while you make the filling.
Step-by-step: apple filling that slices clean
When people search apple pie recipe easy, they usually mean “I want it to taste right without guessing the chemistry.” This method focuses on two things: even apple slices and a thickener that activates during a full bake.
1) Prep apples with consistent thickness
- Slice apples about 1/4 inch thick, a little thinner is fine, but keep it consistent.
- Toss immediately with lemon juice to slow browning and brighten flavor.
2) Mix filling
- In a large bowl, combine sugars, cinnamon, nutmeg, cornstarch (or flour), salt.
- Add apples, toss until every slice looks lightly coated.
- Let sit 10 minutes while the oven heats, this pulls out juices and helps you judge moisture.
3) Assemble
- Pour filling into chilled bottom crust, mound slightly in the center.
- Dot with 1 tbsp butter.
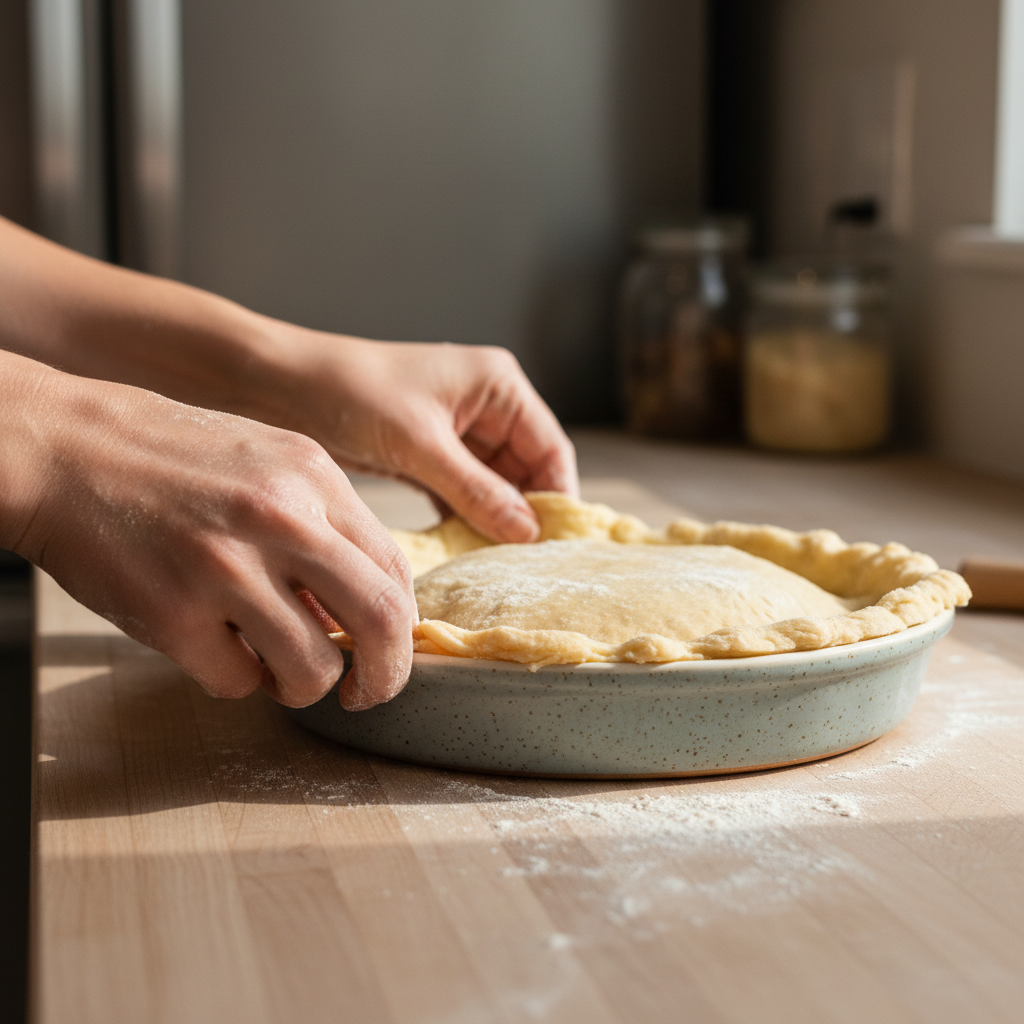
- Roll the top crust, lay over, trim to about 1 inch overhang, tuck and crimp.
- Cut vents (at least 4–6) so steam can escape.
Baking instructions: crisp crust, bubbling filling
Oven strategy matters more than people expect. High heat early helps set the crust, then you drop it so the filling finishes without scorching the edges.
- Preheat to 425°F. Place a baking sheet on the lower rack to catch drips.
- Brush top with egg wash, sprinkle coarse sugar if using.
- Bake at 425°F for 15 minutes.
- Reduce to 375°F, bake 35–55 minutes more.
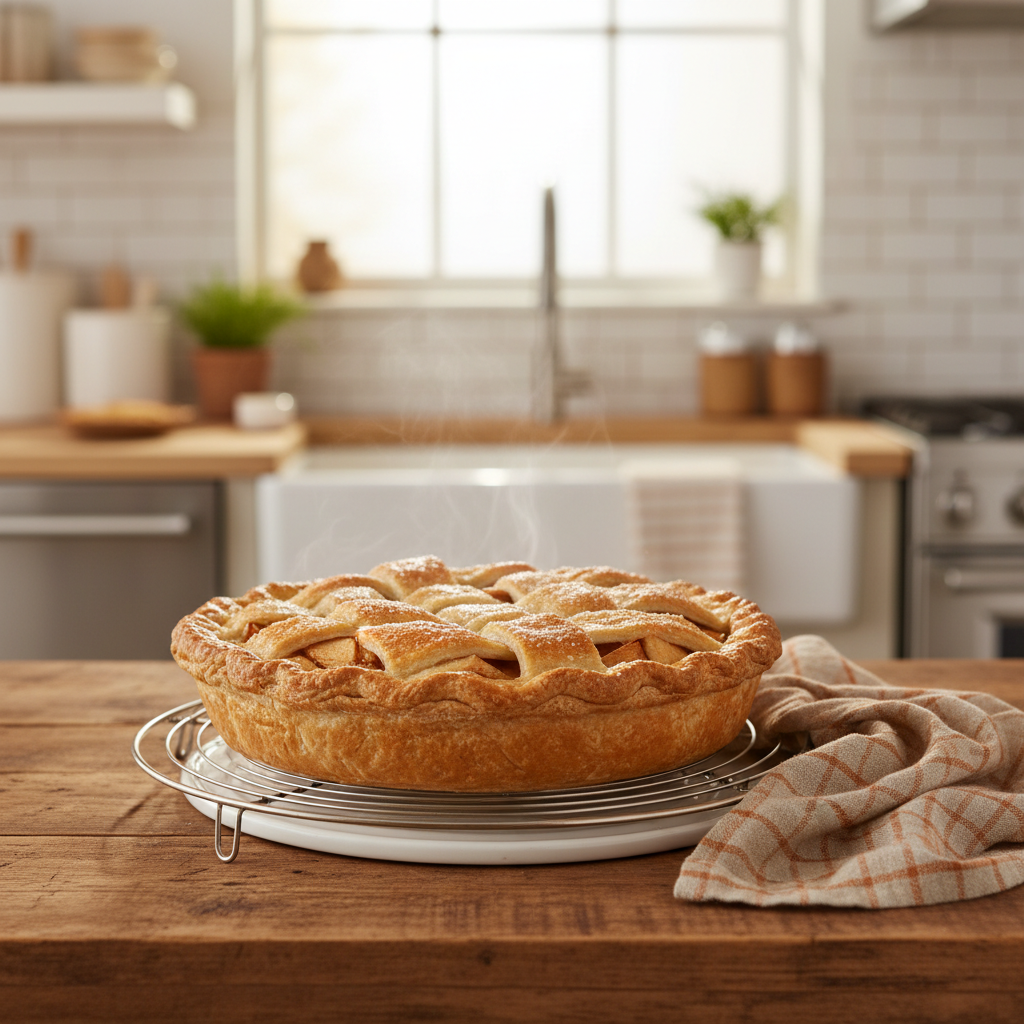
How to tell it’s done: the filling should bubble thickly through the vents, and the crust should be deep golden. If the crust browns too fast, tent edges with foil.
Let the pie cool on a rack for 2–3 hours before slicing. That waiting window is when the juices thicken and the slices stop sliding apart.
Troubleshooting checklist (so you don’t waste a pie)
Quick self-checks that save time, especially if your kitchen runs warm or your apples vary.
If your crust turns tough
- You likely added too much water or mixed too long, next time stop earlier and chill longer.
- Butter got warm, chill the dough and even your rolling pin if needed.
If the bottom crust is soggy
- Pie sat too long assembled before baking, bake soon after filling.
- Oven ran cool, confirm with an oven thermometer if you suspect this.
- Use the lower rack and a preheated sheet pan to push heat into the base.
If the filling is runny
- Pie needed longer bake, bubbling is the signal that cornstarch gelled properly.
- Apples were extra juicy, next time increase cornstarch by 1 tbsp.
- Sliced too hot, cool fully before judging.
Make-ahead, storage, and serving ideas
This is where “easy” really pays off, because you can split the work across days.
- Make-ahead dough: refrigerate up to 2 days, or freeze up to 3 months, thaw overnight in the fridge.
- Baked pie storage: keep at room temp 1–2 days (covered), longer storage typically goes in the fridge.
- Reheat: warm slices in a 300°F oven 10–15 minutes for a crisper crust than microwaving.
Serving-wise, vanilla ice cream is the classic, but sharp cheddar is worth trying if you like sweet-salty contrast.
Conclusion: the “easy” version you’ll actually repeat
This apple pie recipe easy approach stays friendly to beginners while still respecting the parts that make pie good: cold dough, smart apples, full bake until bubbling, and patience during cooling. If you do nothing else, commit to two habits, chill the dough properly and don’t cut the pie early, those two choices fix a surprising number of “my pie went wrong” moments.
If you’re baking this week, pick your apples first, then decide whether you want to make the dough today and bake tomorrow, it’s the simplest way to keep it calm and enjoyable.
Key takeaways
- Cold butter and minimal mixing make flakier crust than any fancy trick.
- Bubbling filling is your doneness signal, not just a timer.
- Cooling time is what turns “tasty” into clean slices.
FAQ
What apples work best for an easy apple pie from scratch?
Granny Smith is the most forgiving if you want structure and a little tang. Honeycrisp brings great texture and sweetness, and mixing the two often tastes balanced without extra effort.
Can I make this apple pie recipe easy without a pastry cutter?
Yes. You can use your fingertips to rub butter into flour, just work quickly so the butter stays cold, and stop when you still see small chunks.
How do I keep my pie crust from shrinking?
Shrinkage usually comes from stretching dough to fit the dish or skipping chill time. Let the rolled crust relax in the fridge before filling, and tuck it into the pan rather than pulling it tight.
Why is my apple pie filling watery even after baking?
Many times it’s either underbaked or sliced while still hot. If you baked until you saw thick bubbles and cooled 2–3 hours but it’s still loose, your apples may have been extra juicy and you may need a bit more thickener next time.
Can I use flour instead of cornstarch in the filling?
You can, and it’s common in older recipes. Flour thickens a bit more softly and can look slightly cloudy, while cornstarch tends to set clearer, both work if the pie bakes long enough to activate the thickener.
Do I need to par-bake the bottom crust?
Usually not for a standard double-crust apple pie. If you consistently get soggy bottoms, your oven may run cool or you may be using very juicy apples, try the lower rack and preheated sheet pan before adding extra steps.
How do I know when the pie is fully baked?
Look for a deep golden crust and active bubbling through the vents. If the top browns early, tent with foil and keep baking until the filling bubbles, that bubbling is what helps the filling set.
Can I freeze apple pie after baking?
Often yes. Cool completely, wrap tightly, freeze, then thaw in the fridge and refresh in a low oven. Texture can vary by apple type, so if you’re picky about bite, a test run helps.
If you’re making pie for a holiday table or you just want a more hands-off path, consider prepping the dough a day ahead and using the planning table above as your checklist, it’s the simplest “upgrade” that keeps this recipe easy without feeling rushed.