
How to make lemon bars easy tart comes down to a few controllable choices, a firm shortbread crust, enough real lemon, and baking the filling just until it sets so you get clean slices instead of a wobbly center.
If you have ever made lemon bars that tasted sweet but not “lemony,” or you pulled them out and the middle sank, you are not alone, most issues trace back to juice-to-sugar balance, oven temperature, or rushing the cooling step.
This guide stays practical, you will get a reliable method, a quick troubleshooting checklist, and small tweaks for more tang, less sweetness, and sharper edges, without turning your kitchen into a science lab.
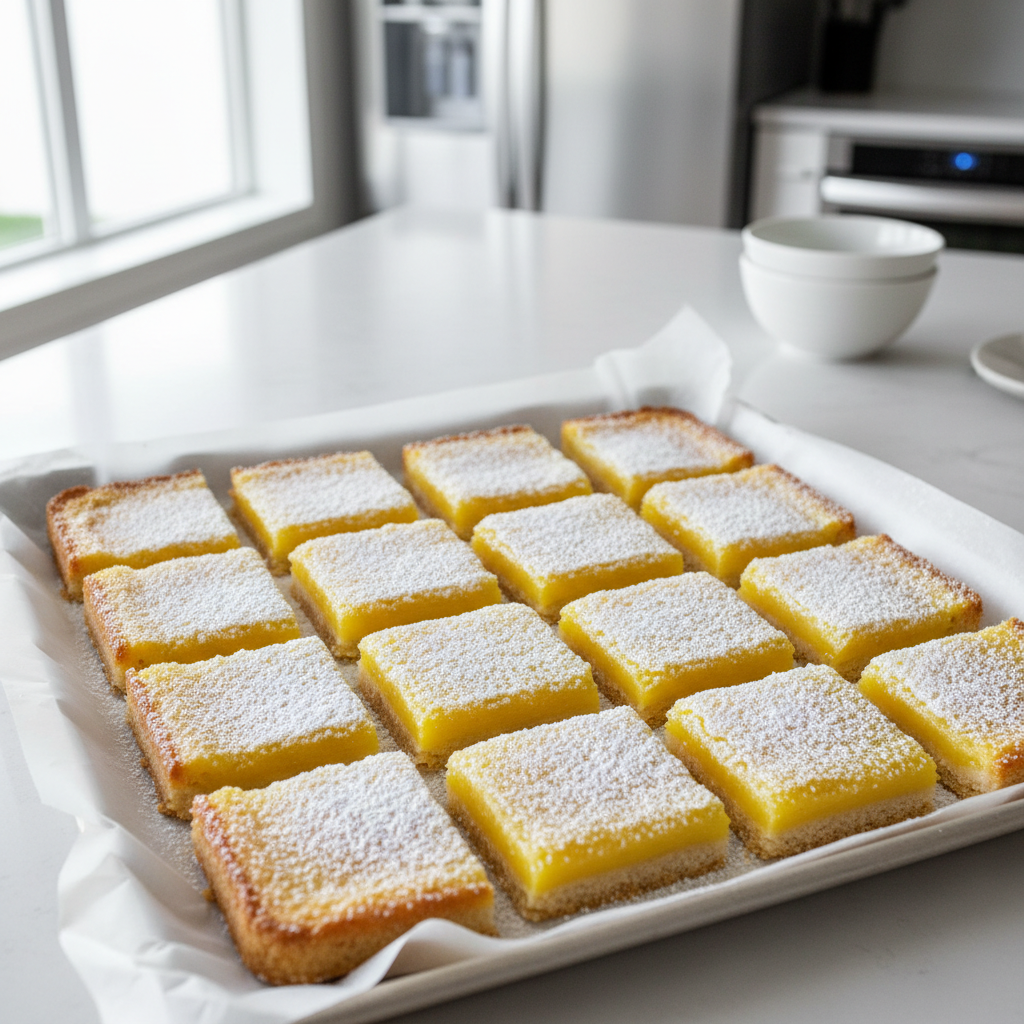
What “easy tart” lemon bars really mean (and what they don’t)
“Easy” should mean no finicky steps and no specialty tools, and “tart” should mean the lemon flavor leads, not just sugar with a hint of citrus.
- Easy: one bowl for crust, one bowl for filling, and a predictable bake time.
- Tart: using fresh lemon juice and enough zest, plus not over-sweetening the filling.
- Not required: fancy curd technique, tempering eggs, or a water bath.
One more reality check, lemon bars will always taste a bit sweeter when warm, and noticeably more balanced once fully chilled, so tasting “too sweet” right out of the oven can be misleading.
Ingredients that matter most (and smart swaps)
You can keep the ingredient list short, but a few choices make or break the result, especially if your goal is how to make lemon bars easy tart instead of candy-sweet.
Shortbread crust basics
- Butter: unsalted butter gives you control over salt, which quietly boosts lemon flavor.
- Sugar: granulated works, powdered sugar makes a slightly more tender “melt-in” crust.
- Flour: all-purpose is standard, a tablespoon or two of cornstarch can soften the bite.
- Salt: small amount, but don’t skip it.
Lemon filling essentials
- Fresh lemon juice: brighter and more aromatic than most bottled juice, which can taste flat.
- Lemon zest: where the perfume lives, it is the fastest route to “tart” without adding more acid.
- Eggs: structure and that custardy slice.
- Sugar: the main lever for tartness, lowering it slightly is often better than adding extra juice.
- Flour: small amount to stabilize so the center sets cleanly.
According to the USDA, eggs should be cooked until set for food safety, so aim for a filling that no longer looks wet in the center and finishes firming as it cools.
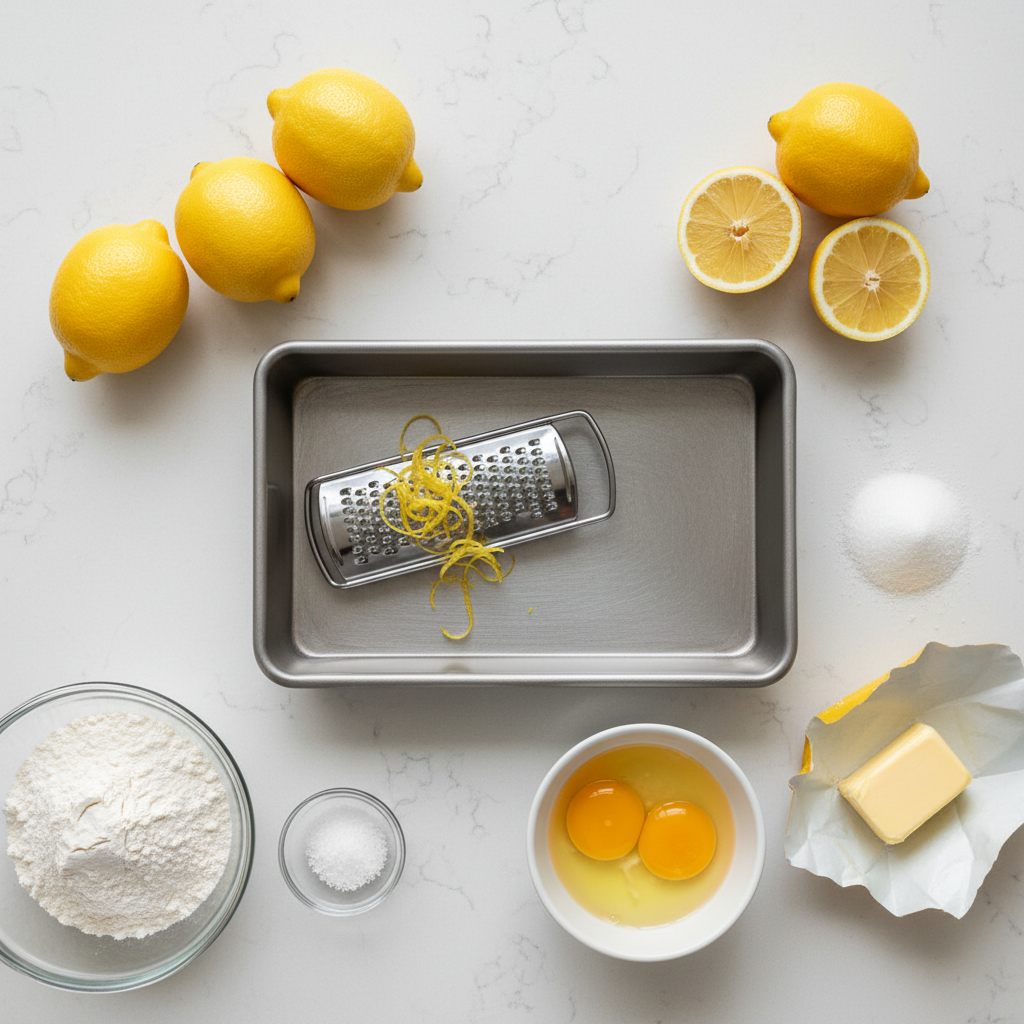
Step-by-step: how to get a crisp crust and a bright, set filling
This method is intentionally straightforward, and it scales to a standard 8x8-inch pan without drama. If you use a 9x13, double the recipe and expect a slightly longer bake.
1) Prepare the pan
- Heat oven to 350°F.
- Line the pan with parchment, leave a bit of overhang so you can lift the slab out.
- Lightly grease the parchment where the bars will sit.
2) Make and pre-bake the shortbread crust
- Mix melted butter, sugar, salt, and flour until a thick, sandy dough forms.
- Press firmly into the pan, especially the corners, a flat-bottom cup helps.
- Bake until lightly golden at the edges, usually 18 to 22 minutes for 8x8.
Key point: a warm, partially baked crust resists sogginess when the filling goes in. Pouring filling into an underbaked crust is one of the fastest paths to a soft bottom.
3) Whisk the lemon filling (don’t over-aerate)
- Whisk sugar and zest together first, this helps release oils from the zest.
- Whisk in eggs until smooth.
- Add lemon juice, then whisk in flour just until combined.
Try not to whip lots of air into the eggs, extra bubbles can rise and create a foamy top that bakes unevenly and cracks more easily.
4) Bake just until set
- Pour filling onto the hot crust.
- Bake until the center looks set and only barely jiggles, often 18 to 24 minutes for 8x8.
- Cool at room temp, then chill 2 to 3 hours before slicing.
If you want that clean bakery look, chill fully, then dust with powdered sugar right before serving, sugar will dissolve if it sits too long on a moist surface.
Quick “which problem do I have?” checklist
Before you change the whole recipe, pinpoint what went wrong, most fixes are small.
- Crust is soft or greasy: underbaked crust, butter too hot, or not pressed firmly enough.
- Filling tastes bland: not enough zest, or using bottled juice that tastes muted.
- Filling is runny: baked too short, pan size bigger than recipe expects, or oven runs cool.
- Filling is rubbery: baked too long, or oven runs hot.
- Top cracks: overbaking or rapid temperature changes, small cracks are still normal sometimes.
- Metallic or bitter note: zesting too deep into the white pith, or using reactive metal bowl for acidic mix in some cases.
Dialing up tartness without breaking the texture
When people say they want “more lemon,” they often mean aroma and bite, not just more sour liquid. Here is how to push flavor while keeping that classic set.
- Use more zest, not just more juice: zest boosts lemon intensity without thinning the filling.
- Reduce sugar slightly: small cuts can make the same lemon amount taste sharper, but go slowly so texture stays custardy.
- Add a pinch more salt: it does not make bars salty, it makes lemon read clearer.
- Serve chilled: the sweet-tart balance tightens after refrigeration, warm bars taste softer and sweeter.
If you are experimenting, change one lever at a time, it is the easiest way to learn what your taste buds prefer.
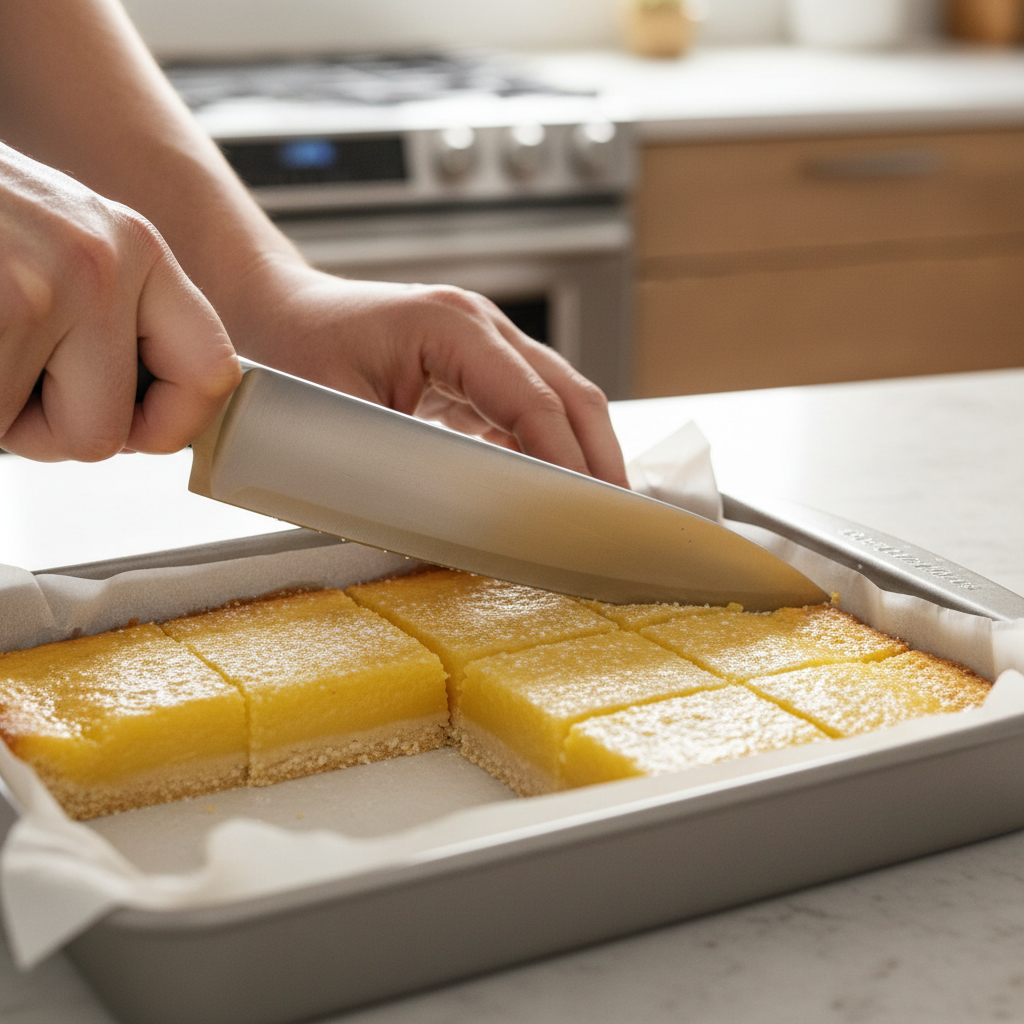
Timing and temperature guide (table you can actually use)
Ovens vary, pans vary, and lemon bars are sensitive, so use the visuals plus this guide. If your oven tends to run hot or cold, an inexpensive oven thermometer can save a batch.
| Step | What you’re aiming for | Typical time (8x8) |
|---|---|---|
| Pre-bake crust | Edges lightly golden, center looks dry, not wet | 18–22 min |
| Bake filling | Center set with a slight jiggle, no wet shine | 18–24 min |
| Cool on counter | Pan no longer warm to touch | 45–60 min |
| Chill before slicing | Fully firm for clean cuts | 2–3 hrs |
Practical tips: clean slices, storage, and make-ahead
Making bars taste great is one job, making them look good and hold up for serving is another, especially for potlucks and bake sales.
- For sharp edges: chill well, wipe the knife between cuts, and make confident straight-down slices.
- For less sticking: use parchment overhang, lift the slab out, then cut on a board.
- Storage: keep in an airtight container in the fridge, powdered sugar goes on right before serving.
- Make-ahead: bake the day before, chill overnight, cut next day, texture usually improves.
- Freezing: many batches freeze fine, but the top can weep a bit when thawed, freeze without powdered sugar.
Key takeaway: if your main goal is how to make lemon bars easy tart, focus on zest, proper crust pre-bake, and not overbaking, everything else is minor tuning.
Common mistakes that waste effort (and what to do instead)
These are the moves that feel helpful in the moment, but tend to backfire.
- Pouring filling on a pale crust: bake the crust until it looks like it means it, light gold at the edges.
- Adding lots of extra lemon juice: you can thin the filling and end up with a center that refuses to set, add zest first.
- Cranking the oven to “set it faster”: higher heat often cracks the top and toughens the custard.
- Cutting too soon: warm bars smear, chilled bars slice, it is annoying, but it matters.
Conclusion: the simplest path to bright, tart lemon bars
If you keep the crust sturdy, lean on fresh juice plus zest, and bake the filling only until it sets, you will get the easy tart lemon bar most people actually picture, bright flavor, neat slices, and that satisfying contrast between crumbly base and silky top.
Next time you bake, pick one upgrade to try, more zest for sharper lemon, or slightly less sugar for a cleaner bite, then take notes so your version stays consistent.